Some deliveries may take a little longer than usual due to regional shipping conditions.

DOWNLOAD THE APP


Customer Services
Copyright © 2025 Desertcart Holdings Limited
DOWNLOAD THE APP
🎵 Elevate Your Sound, Join the Jam!
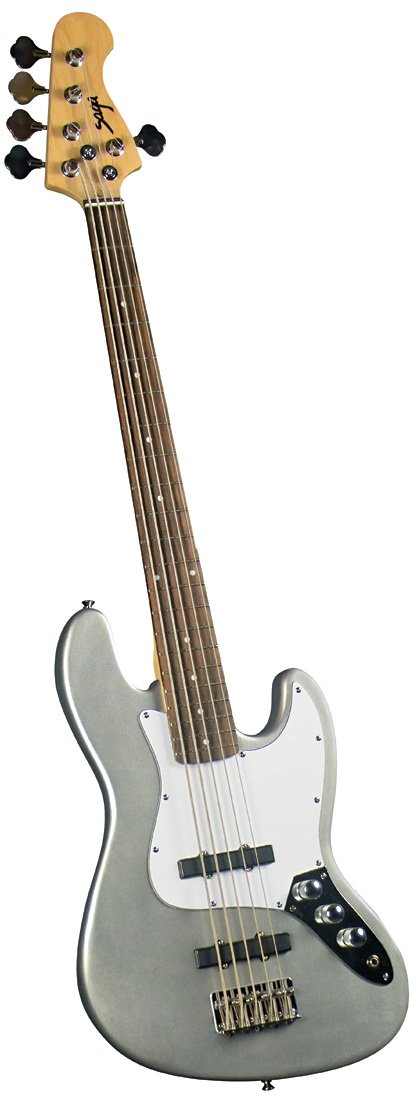
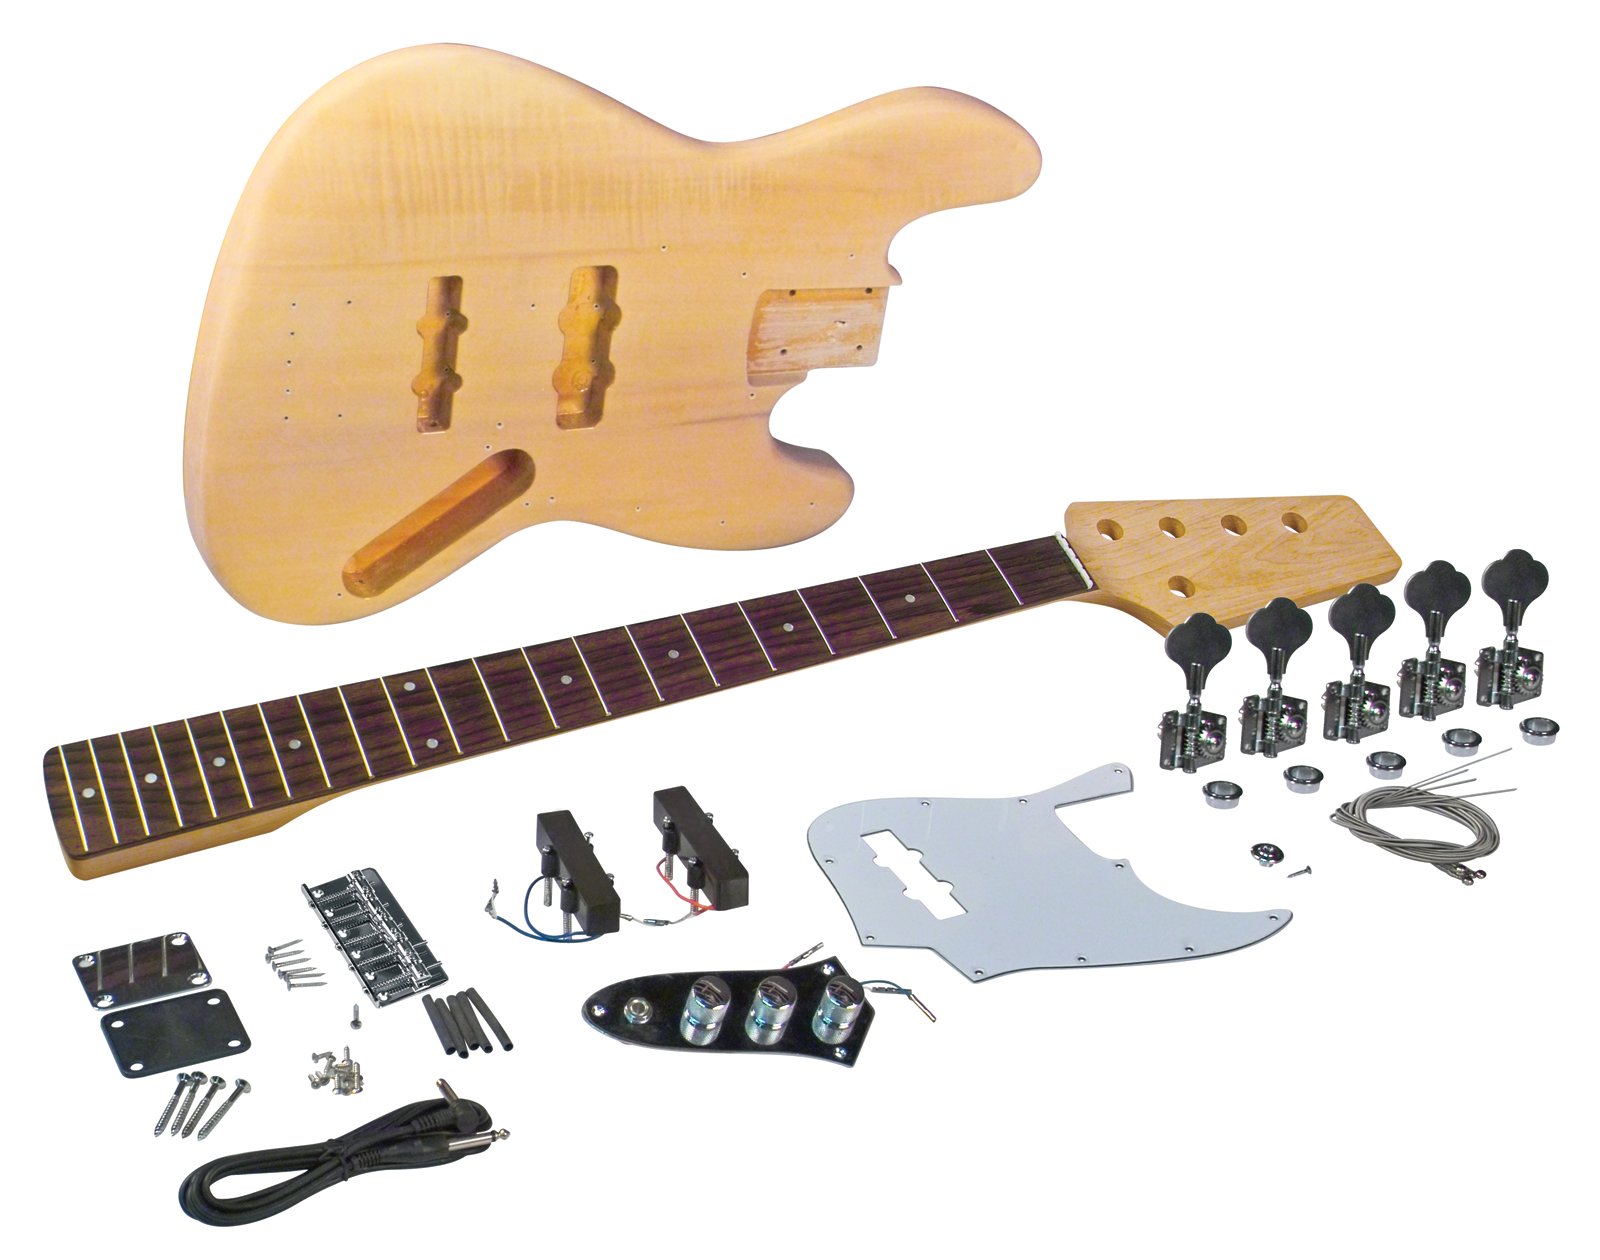
The Saga JB-11 J-Style Bass Kit is a premium instrument designed for aspiring musicians. Featuring a solid select alder body, a fretted rosewood fingerboard, and a humidity-resistant design, this kit ensures durability and exceptional sound quality. With easy assembly and no soldering required, it's perfect for both beginners and seasoned players looking to enhance their musical journey.
J**R
Great Price, Great Kit, Great Bass
I bought the kit from another supplier, but it's the same as the JB-11 here on Amazon. This is the first instrument kit that I've built and I'm very pleased with the results.I didn't install the supplied strings, but immediately bought a set of Ernie Ball Power Slinky Strings from Amazon. Other than that, I used everything that came with the kit. Eventually I'll replace the pickups, but the supplied pickups work very well. The tuning machines are nice and heavy and stay in tune. I'll most likely replace the bridge as well, but for now it works just fine.As far as the parts go, you can't screw it up. All the parts fit just as they were supposed to. The instructions were great and everything fit just as it was supposed to. The neck was a nice, tight fit, so I didn't have the problem another reviewer on here did. Use a band saw to cut the headstock. I used a jigsaw and, while the shape came out right, I did end up with a couple of burn marks where the saw blade bound up.Finishing the body is where you have the opportunity to really screw it up. The instructions are minimal regarding the finish, but there are a number of sites and YouTube videos about how to finish and polish a guitar. Don't skimp on the number of coats you put on the body. I put on ten coats of Rustoleum lacquer and ten coats of clearcoat and waited two weeks for it all to cure.The instructions say to use 400 sandpaper and finish it with 600 grit, both of which, IMO, are way too coarse. I wet sanded it out using 1000 grit sandpaper, then polished it using a drill and a foam pad and Turtle Wax Polishing Compound. I finished it with a new pad and Turtle Wax Scratch and Swirl Remover. You can find all of these supplies at the automotive store in the wax and polish section.The neck was finished with five coats of clear lacquer and buffed with a Scotch-Brite green scrubby to give it a smooth, satin finish. I rubbed the fretboard with several coats of lemon oil. I also filed the edges of the fret wires to take off any sharp edges. Finally, I shielded all of the electronics and grounded the shielding. There is no unwanted noise, even with one pickup on and the other off.The intonation instructions were adequate, although I went online and followed a couple of YouTube videos on setting the intonation and I'm very pleased with the resulting sound. The notes come through very clearly and the action is good. I wish the neck was longer, and the Ernie Ball B-string was almost too long, but it all sounds great. The supplied pickups sound very good, and I see no reason to change them.This was a great project! A number of people were surprised to hear that I built this myself. It looks and sounds great. I'm planning on buying the Saga MB-10 Kit next and passing this one on to my son, but, until then, I'm having a great time playing a quality instrument that I built myself.Edit, Sept. 10, 2016: I did finally replace the stock bridge with an aftermarket bridge. The stock bridge ran out of adjustment and left the strings very high off of the neck, which made the action very cumbersome. I replaced the bridge with Kmise A2208 BS-10 Chrome 5-String Bass Guitar Bridge for 5-String Bass which allowed me to lower the action significantly. Given that the new bridge weighs two or three times more than the stock bridge, it also positively affected the tone. Installation required filling in the stock screw holes and drilling holes that matched the new bridge, but, other than that, it was a very simple modification. The Kmise bridge also allows you to string-through-the-body, but I haven't modified the bass for that (yet).I also replaced the soft, plastic nut with a Graphtech Black Tusq XL 5-Str Bass Nut 1/8" PT-1425-00 which was a direct replacement for the stock nut, and is supposed to give tone results that are superior to bone.The bass already sounded good before these mods, but the tone has noticeably improved and now rivals my Peavey Grind for a buttery smooth sound.
A**Y
i guess i got what i paid for
Where do I begin?The bass wood was really poor quality..didnt even have the right measurements for the supplies on hand..The jazz p'ups barely fit and the neck slot was too big for the neck itself.I guess all I have now are spare parts...great for projects at
D**L
Very Nice Kit
I am still currently putting this kit together, but so far so good. The wood grain on the body was good, but because it was sealed I could not stain it. I guess The sealer could have been stripped off , but I did not want to go through that much trouble. the kit showed up on time and was missing no parts. The neck seems very well made with the exception of the frets. I had to file those down and blend them on the ends. I will post photos when I am finished. take care.Ok, I have finished this kit. It came together pretty good, but there was some small things. The very hard finish on the body was really hard to remove, but after doing so I see why they do this.paint stripper will not work at all, and it is was very thick on my kit. What I did use was a flexible, 2inch wide putty knife to remove it. I also used a heat gun set on "low" setting. The finish would slightly start to blister, then I would scrap away the finish. Be sure to do this in a well ventilated area. I did in my garage with the door open and my shop fan running. The wood underneath was somewhat soft so I can see why they wanted a harder finish on top of it. The wood grain was not bad but not good either. I sanded it to get it smooth and sealed it with sanding sealer so the stain would not soak to deep in the pores of the wood. I had to do some fret leveling but only minor. I did do some rewiring on this one simply because the soldering did not look very substantial. After about 2 months of the ebony stain job I decided to change the look so I started over. I re-sanded the body and the neck to get back to a fresh wood surface. I then painted the body with several coats of "filler" primer, sanding between coats. I then lightly primed the neck, and taped out the rosewood fret board. I painted the neck a very nice acrylic enamel in white. I sprayed the neck with 5 coats, sanding between each one. I would let the neck dry 2 days between coats. I then started on the body after letting the several coats of primer dry thoroughly. I started with 2 coats of flat black enamel, sanding between coats. I was going to go with a nice black metallic finish but decided to try something different, I went with a hammered finish. I sprayed it in 2 passes with the first coat being very light, just enough to cover the surface. I waited about 2-3 days as I had to work, I work a rotating shift. I then sprayed the final coat in one pass with the guitar laying flat. I put 3 inch drywall screws in to the area where the pick-ups go to keep it from touching my work bench. Just be careful to only turn them in enough to be stable. After 2 days of drying the outcome was very nice, and the finish is hard and durable. The body color is a metallic, hammered black with a white neck. Its looks pretty good, its a nice contrast. I took it to a local guitar store and had a good friend of mine set it up. The action is spot on and the tone is very smooth. It would be better with different pick-ups, but that will be a future upgrade. I know I could have just bought a bass, but it was cool to "build" this one myself, as I have worked with wood before refinishing furniture. I like this kit and if you want to take the time to finish it properly you will enjoy it greatly. I will post some pics when I figure out how too, LOL.Update:It has been a while since I finished this kit. The sound is very good, actually better than I expected. I did tweak the neck and I shimmed it the change the string height. It really was not needed, just a personal preference. Active pickups would be nice, but I actually like the sound of the passive ones in this kit. I have played PRS, Fender, Yamaha, but I really like the sound of this bass. It's not in the same league as these basses but for the money it's pretty good. I will post pictures this week.
S**C
Great product for the price
This is a good, pre-wired kit. You do have to shape the headstock yourself, which is nice, but everything else is done except for paint and assembly. The instructions were not very good, but if you have good common sense you should be able to figure it out. It sounds great and the thick body gives it very nice tone.
Trustpilot
4 days ago
2 weeks ago