Desertcart purchases this item on your behalf and handles shipping, customs, and support to Ecuador.
🌿 Elevate Your Aquarium Game with Precision CO2 Control!
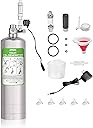
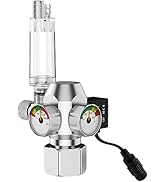
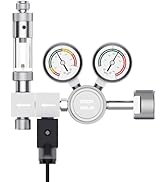
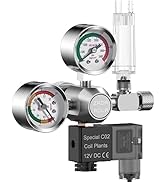
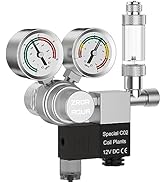
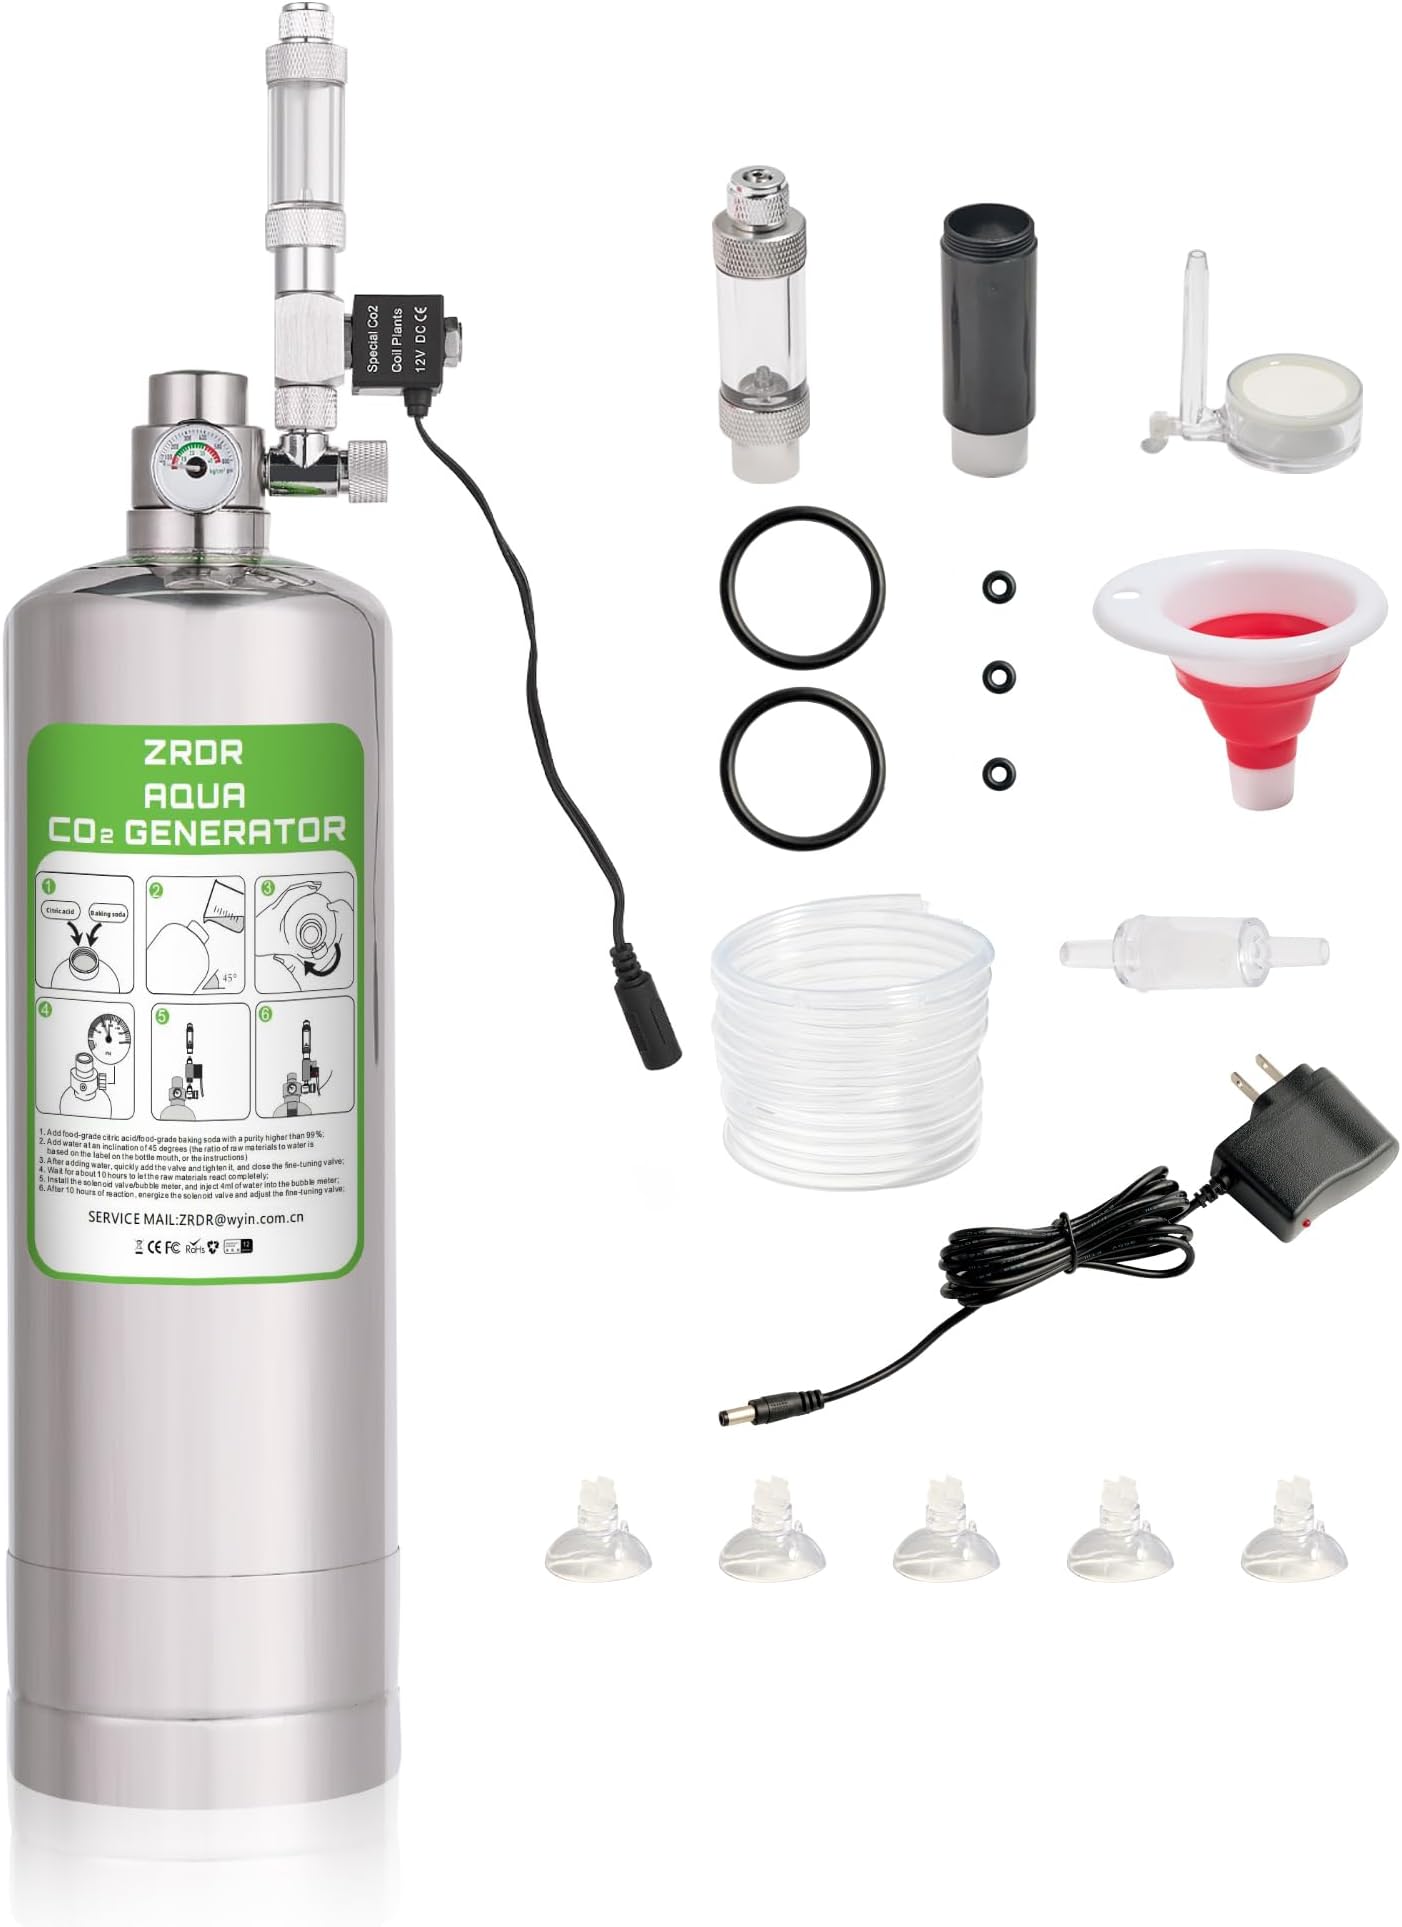
The ZRDR 2L Aquarium CO2 System is a professional-grade, stainless steel CO2 generator designed for aquatic plants. Featuring an automatic pressure relief valve, a waterproof 12V solenoid valve, and a high-efficiency atomizer, it ensures safe, stable, and optimized CO2 delivery. The complete kit includes all necessary accessories for easy setup and maintenance, while using affordable, readily available ingredients for refills. Ideal for millennial plant enthusiasts seeking a reliable, eco-conscious upgrade to their aquarium ecosystem.


| ASIN | B083NH7BKQ |
| Best Sellers Rank | #76,619 in Pet Supplies ( See Top 100 in Pet Supplies ) #303 in Aquarium Air Pump Accessories |
| Brand | ZRDR |
| Brand Name | ZRDR |
| Customer Reviews | 4.0 out of 5 stars 487 Reviews |
| Included Components | Accessories |
| Item Form | Bottle |
| Item Weight | 300 g |
| Liquid Volume | 2 liters |
| Manufacturer | ZRDR |
| Manufacturer Part Number | FSQ-Single Gauge |
| Model Number | 2L-Single Gauge |
| Number of Items | 1 |
| Pet Type | Fish |
| Target Species | Aquatic Plants |
| UPC | 779296240628 |
| Unit Count | 1 Count |
J**H
My detailed installation instructions
UPDATE April 24, 2021 - I have now been running this set up for a few months now and it is awesome. I change the baking soda and citric acid about once every 2 weeks. The output has been consistent and the issues I had at first with the gauge not showing accurate readings is no longer an issue. My plants seem to be doing really well. I highly recommend this set up and have changed my rating from 4 stars to 5. Original: Once set up, I so far have found this CO2 setup to be awesome. Here’s some tips from my experience, step by step: 1. My cotton filter was already attached to an apparatus that looks slightly different than the one in the directions (part 3). My set came with a spare cotton filter also (part 4). 2. Screwing the filter (part 3) to the valve (part 2) was easy in my experience. Just tighten as far as I could. 3. Use the funnel and fill the tank (part 1) with ingredients. NOTE: 200g is 7/8 cups. I did about 3/4 cup each citric acid and baking soda, then 1 cup water. I will do 1 full cup each acid and soda and 2 cups water next time. I was short on supplies. Screw the pressure valve into the body as tight as you can (part 2 into part 1) 4. My valve did not register any pressure to start. I waited a long time. Finally I gave up, unscrewed the top bolt above the gas output knob on the valve and heard air escaping. I knew then it was producing fine. I never reused this top bolt once removed. 5. Connected the solenoid valve (part 6) and used the wrench (part 13) to tighten into place securely. 6. I screwed the entire top ( smaller end with bolt) of the bubble counter (part 5) and filled 3/4 with water. Replaced the top of the bubble counter tightly and screwed the other side (bottom) in place tightly to the top of the solenoid. 7. Removed bolt from top of bubble counter and slide end of rubber tubing (part 17 - “trachea” in instructions is tubing) they the home of the bolt. Then push the end of rubber tubing onto the top tapered part of bubble counter where the bolt was and re-screw the bolt on tightly to hold tubing in place. NOTE: The tubing is stiff and pretty hard to work with. I am considering replacing it with higher quality, more pliable tubing. 8. Cut rubber tubing twice —Once about 4 inches from the bubble counter (save this 4 inch section for later). The second cut about a 18 inches long. 9. Secure the check valve (part 12) on the other end of tubing that’s attached to solenoid (end with filter inside of check valve goes on this end of tubing) tightly. The loose 18 inch section of the cut off tubing gets secured in the other side of the check valve (open end of the valve with no filter). 10. Secure the other end of the 18 in section of tubing to the u shaped tube (part 14). This part will go over the edge of your tank when you install it. 11. Use your remaining loose 6 inch section of tubing and secure it tot he other end of the U shaped tube. The other end of that 6 each section secure your atomizer (part 15). The CO2 set is now ready to install. Put the base on the bottle (part 16) and put it wherever you plan on storing the unit. Secure the U shaped tube over the edge of your tank and use the suction cups (parts 11) to secure the 6 inch section of tubing between the U shaped tube that’s now over the edge of your tank and the atomizer into place inside your tank under the water. Plug the solenoid connection valve (part 8) into the solenoid, then the power supply cord (part 7) to this. Once everything is in place, plug the power cord into your outlet to power the solenoid on. VERY slowly turn the gas output knob on the pressure reducing valve (literally a hair width at a time) until you reach the goal of one bubble per 10 gallons every 5 seconds or so. This process took me a while to adjust but once I had it set it’s stayed put. The set up day my pressure valve showed no pressure. The bottom of the stainless body got very cold and my bubbles were producing a set count so I knew it was working fine. Figured the valve was faulty. The next day though it reached 10-15 or so in the green range. I plugged my power plug into a wall timer and set for 8am to 6pm. Takes about 30 min in the morning for it to fully come back up to pressure. It is very consistent so far throughout the day. Also, I agree with other reviewers that the solenoid does get quite warm. Mine doesn’t get HOT as others have described but it is pretty warm to the touch. I will be keeping an eye on it as well as the bubble counter evaporation. Last note: the first set I received was missing the u shaped tube, suction cups and the replacement filter cotton. I contacted Amazon and the provided a replacement which was fine. I sent the first incomplete set back for a refund. The missing parts, minimal instructions and questionable valve readings are the reason for only a 4 star rating. So far so good though. I will update if anything changes. I do recommend and hope these more detailed notes will help explain the set up process better than the minimal instructions that are included with the kit.
K**L
Easy to set up and works like a charm!!
This is my first venture into a planted shrimp aquarium and I wanted to have a thriving one. Between a DIY soda bottles and pricey, full-fledged CO2 setup, the ZRDR CO2 Generator is a great medium. I followed its instructions to fill the CO2 cannister with citric acid, baking soda, and water and immediately reacted and began getting cold. Within twenty minutes, my CO2 was running accordingly. However, it did take about 6 hours for my pressure gauge to get any readings and 72 hours for it record "20" (full). Setting everything up was very simple and straightforward. I would recommend using plumber's tape for any parts you will need to screw on tightly so you don't strip threads. The solenoid does get quite warm as others have noted but not scalding hot. The knob does require very precise turning for you get your desired CO2 output. If you're having issues with CO2 diffusing properly, you can simply remove the white filter piece. It's only there as a preventative measure to protect its other components in the event of a cannister spillover. It's been about one month of running CO2 at 1 bubble per second for 8 eight hours a day and it's still going strong not requiring a refill yet. My plants are all doing very well and my shrimps are happy. I did run into a small issue and the seller was very quick to respond and provided an immediate resolution. Very satisified with my purchased and impressed with the level of lutstanding customer service.
L**I
great product so far..
ok so i t arrived June 9th today is the 15th... I have a heavily planted 20 gallon. So everything arrived woohoo!! i rip the box open fin the instructions realized I need a magnify glass to read them omg the print was so small!! how did the rest of you read these?? so i came back to the reviews remembering someone typed them...i get everything together (or so i thought) and nothing comes out.. long story short it took me about 4 hours to figure out... when i went to open the bubble counter the bottom came off the spring and valve shot out and i had to figure out how they went back together then water leaked out of the bottom so i had to add a seal for that then my check valve leaked so had to run out replace that but here we are and its working GREAT!! i see a huge difference in the plants already no more yellowing my tall grass stopped melting and I hope it comes back i had thrown a plant in from another tank that was on its death bed and thats coming back too.. I am really happy with this product but 4 stars because the print on the instructions on how to set it up was unreadable but the ones on the tank for how to mix were great.. oh yeah 200 grams is about 1 1/4 cup and i was always taught 1gm=1ml so 300grm of water is 300ml
F**P
Leaky valves, failed in under a month before it was useless.
Out of the box it had issues holding pressure, discovered the valve for the main assembly leaked, was able to get it to hold and it worked fine for about a month but would only last 3-4 days before I had to re-fill, far under what I would have expected. Failed today 100% and the valve is now broken. There is pressure stuck in the tank but the release valve that goes to the aquarium is stuck and I can't easily unscrew the hookup without having a lot of pressure blow back at me so I'll have to try to disconnect it somehow to relieve pressure or hope it leaks for a week and is safe to handle when the pressure gauge goes down. The thumb screw for the pressure valve rotates freely but it only opens the valve between the aquarium and the open air, the pressurized tank is still stuck under pressure with no way to easily open. Could be a safety issue if someone were to overfill this and had no way to vent pressure without unscrewing the top (I don't even think there's a pressure valve that I was able to spot)
D**G
one part didn't seem to fit but amazon helped me
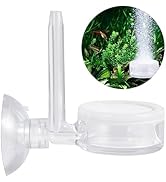
Let me start off my telling you that one of the pieces didn't fit properly. I am still giving it 5-stars due to Amazon and the seller's responses to the situation. The build quality is great. The tank is sturdy and although has a lot of Chinese language stickers on it, doesn't take away from the steel quality. I chose this one because it looked similar to other tanks but this was the cheapest option. This also comes with a solenoid that is working great. (To those that don't know, solenoids are connected to your timer (sold separately) that helps you to turn on/off the CO2 at specified times) The part that didn't fit was for a filter inside. There is a Tertiary filter that I think is supposed to block off small particles that can go up into the hose (I don't know how often that happens because it's supposed to convert it into gas) but I'm assuming they put it there to prevent that from happening. The problem is, the threads on that filter do not fit with the valve. This is why I contacted the seller and Amazon. They worked with me to bring some resolution and so that is why I kept this at 5 stars. I don't know if I got a one-off or if this is a common problem in other ones too. I would normally take one star off for these cases but to be honest, I don't even think that the filter is needed. I tried the rest of the set up and let me tell you, this CO2 Kit is GREAT. I had a Fluval 25g CO2 kit but that lasted me all of 3 days before the CO2 was gone. I then looked up replacement tanks and they were super expensive. So expensive that I decided to look at other options. Everyone recommended DIY kits which I was going to do - but they looked so tacky with the plastic 2L bottles and such. Anyone on the fence about purchasing this, I can tell you, pull the trigger. This has been a GREAT replacement for me and the twist valve to control the BPS works GREAT. SO much better than the fluval one that would just burst my hoses. This can let you tweak from 1 bps to .25 bps EASILY. It has so much better control. Also, making the CO2 is as easy as putting 200g of Citric acid, 200g of Baking Soda and 300ml of water and screwing on the valve. Set up is so easy and they have step by step directions, which surprisingly, are legible (many of these imported from China stuff have horrible directions). All of the other components are of great quality. This is the longest review I've probably written but I really wanted to give Amazon and the seller props for working the situation out with me and also wanted to say that the product quality is really good. I hope that I had a one-off situation with the filter (but again, the filter doesn't seem to be a necessity) and for the price, it is really a good deal.
S**M
Inexpensive and high quality
I just finished setting up my CO2 generator, and I thought I should leave a review. Aesthetics: I love the sleek metal look of the cylinder. I much prefer it over the plastic soda bottle setups that most do-it-yourself kits have. Everything looks like it's made well and of high quality materials. The base is a nice touch, so the cylinder won't tip over. I am using my own glass diffuser, since it blends into the background better, but that's just a personal preference. I tried the diffuser that came with the kit and it worked just fine. It just stood out too much. I'm going for a more natural, seamless tank. Setup: Setup was very simple. All the pieces fit together without any trouble. The instructions, though obviously fed through a translator, were easy enough to understand. And if you have any trouble, the pictures, numbered to match the instructions, take care of that. The formula to generate the CO2 is simple. 200g citric acid, 200g baking soda, 300ml water. Drop it all in the tank, solids first, seal it up, and wait. It took about 3 hours to reach 10kg/cm (the gauge is metric), and then about another 15 minutes to complete setup and install in my tank. Use: fine tuning the output is a breeze. The knob is very sensitive, so it's easy to get just the right bubble count. I tuned mine in for about 2 bubbles a second. I am testing this in a plant only tank, so that might be a bit much for fish, but we'll see. I will look at my drop checker in a few hours to see saturation. Pros: Easy setup Sleep look Quality materials Cons: The auction cups could be a little better, but if that's the only problem I have with this, it was money very well spent Final thought: if you're in the market for a good, inexpensive CO2 setup, this is the one you should get. I'll run this for a little while, and if I am still happy with it, I'm going to order 3 more for my other tanks. If anything changes I will update this review, but so far I am VERY happy.
D**S
First was faulty and not for Aquariums > 30g (113l)
First setup I bought turned out to be faulty and would not properly output no matter how much the adjustment valve was open; after 1 minutes it would always be less than 1 bubble a second (bps) in the bubble counter (see first photo). After talking with support for a few days they recommended I return and replace. Replacement came if an the difference was immediately noticeable (see secnd photo). This lasted a few days but after a week I've already noticed it is about 1bps. I referenced their air output and service time chart and it isn't anywhere NEAR what the chart says it should be; I should be getting 2bps for 20 days or 1bps for 40 days. This one could be faulty as well but since the first one was *really* bad I don't have a frame of reference as to what a *good* one should be. This could be good for a tank less than 30g (even that is pushing it; 20g would be best) but anything above it is just not worth it. I'm definitely going to be returning this for a real CO2 System. Yes, they are more costly up front but the materials cost to keep this setup running would pay for a real system in a 6 weeks... (edit: My display tank is a 40g breeder with a 28g sump and the CO2 indicator solution never reached lime green color because it just would not output enough CO2.)
S**R
Worth the money!
Easy to set up. Comes with extra replacement o rings which is great when it starts to leak. I didn’t use the tubing it came with. Tubing felt pretty cheap and potential to leaks so I’m using my thicker black tubing. Wasn’t able to reach 10 kg on my end due to lack of mixing and delay of closing container. After 12 hours, tank settled to 8-9KG with my bad mix. I’m on day 2 with the same amount 8-9 KG. Assuming I’m averaging at this rate, $10 worth of citric and baking soda would last me over a year. Almost purchased the fluval kit but I rather pay $10 yearly than $10 for a few days use from fluval! The solenoid is extremely hot. I would expect solenoid to fail before any leak occurs. I will update again if anything goes wrong or fails. Recommended at this time! 3 months update: No failures. Tank low psi. Replacing co2. Lasted pretty long.
T**H
Good
Works well
N**B
Great product.
Great product, great experience, thank you!
C**S
Satisfaction
Je l’ai installé depuis 2 semaines et j’en suis très satisfait. A voir dans le temps. Je recommande.
D**B
Best investment for your aquarium.
It’s easy to use.
J**N
It works, easy and reliable, not forgetting value for money
Item came neatly packed. Had to ensure that item is assembled as per diagram and YouTube helps too. Once assembled, activated the chemical reaction and overnight the gauge showing full pressure. Start delivering CO2 and diffuser works like a charm supplying tiny little bubbles. I am used to the old school 2 bottles DIY yeast CO2 generator but this is so simple and economical. Bought 1 kilo each of anhydrous citric acid and Sodium Bicarbonate for a total price of Aus$42. This will last me, if the supply of CO2 is good for 8 weeks, 40 weeks total. Great value for money. Was skeptical before, am a believer now.
Trustpilot
5 days ago
3 days ago