Full description not available
R**N
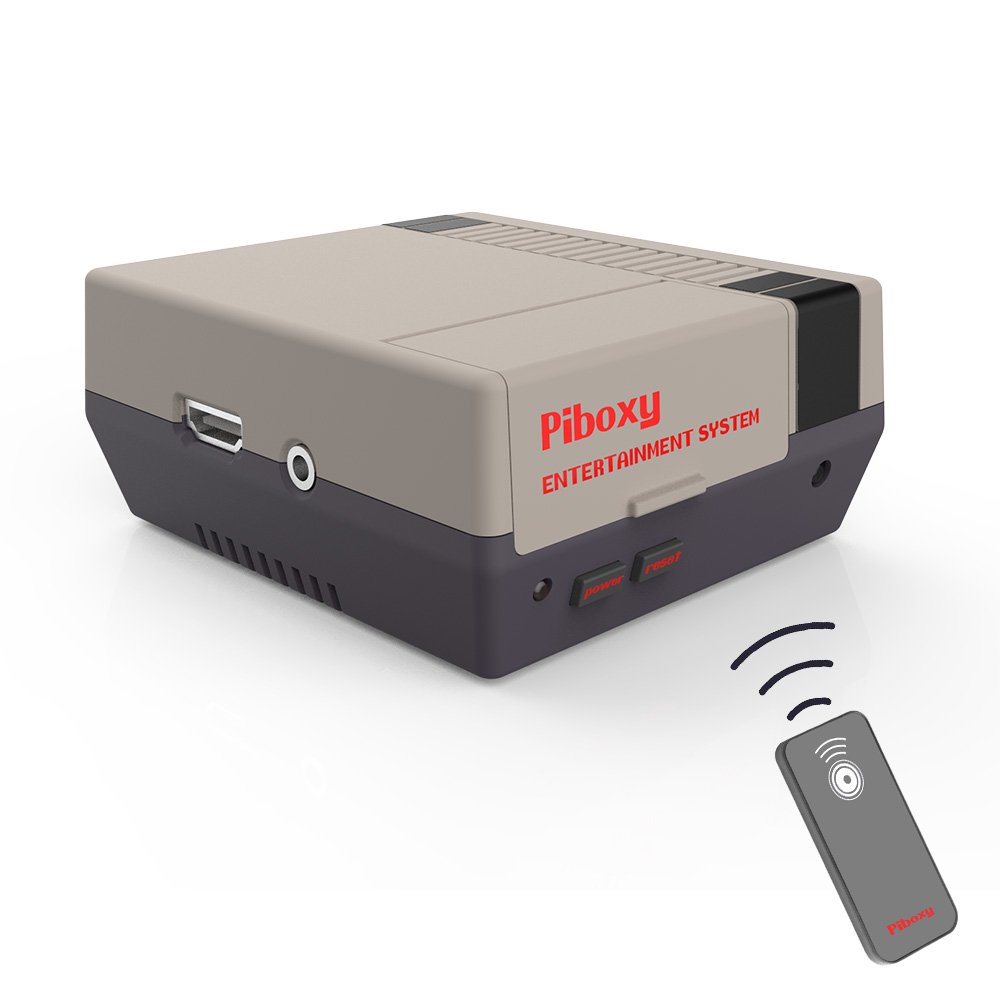
Adorable, functional, and fun!
Update 4/30: Still can't get the 3B+ to accept the power from this case. Power (red) light on the 3B+ flickers when the Piboxy power button is pressed, but nothing happens.I've accepted for now that this case will just be for my old Pi 3 for now, and in that - it functions just fine.Update 4/1: Had the seller reach out to me and suggested that I update with the latest code from their website. That was a bit odd to me, as I couldn't get the unit to power the Pi on. I ::think:: what happened was that I didn't push the cable into the GPIO pins tight enough and it came loose.For now, I've backed down to using my 3B (not the plus), as I haven't updated to using the beta RetroPie images that support the 3B+ yet. It's up and running with all the latest code from Piboxy, and appears to function just right. Will monitor for a couple more days to see for sure, and I'll update the review again.Very adorable case. Got it all installed with a new 3B+, installed the add ons to make the power/reset buttons do a safe shutdown/restart. Tested that functionality a few times last night, and went to bed. Now it won’t power on - blue light blinks, red light on Pi briefly blinks, then nothing.The fan was also a little loud (when it was working) for my tastes, but I’m coming from a slient Pi so I was willing to get used to that.I really wanted a case with a functional power button... and this was so cute. Only design change I would make would be to move the power socket to the back.I really wanted to like this thing. I didn’t even get to test it with RetroPie yet.
B**N
I've been looking for a NES like case for the Raspberry Pi for a little while ...
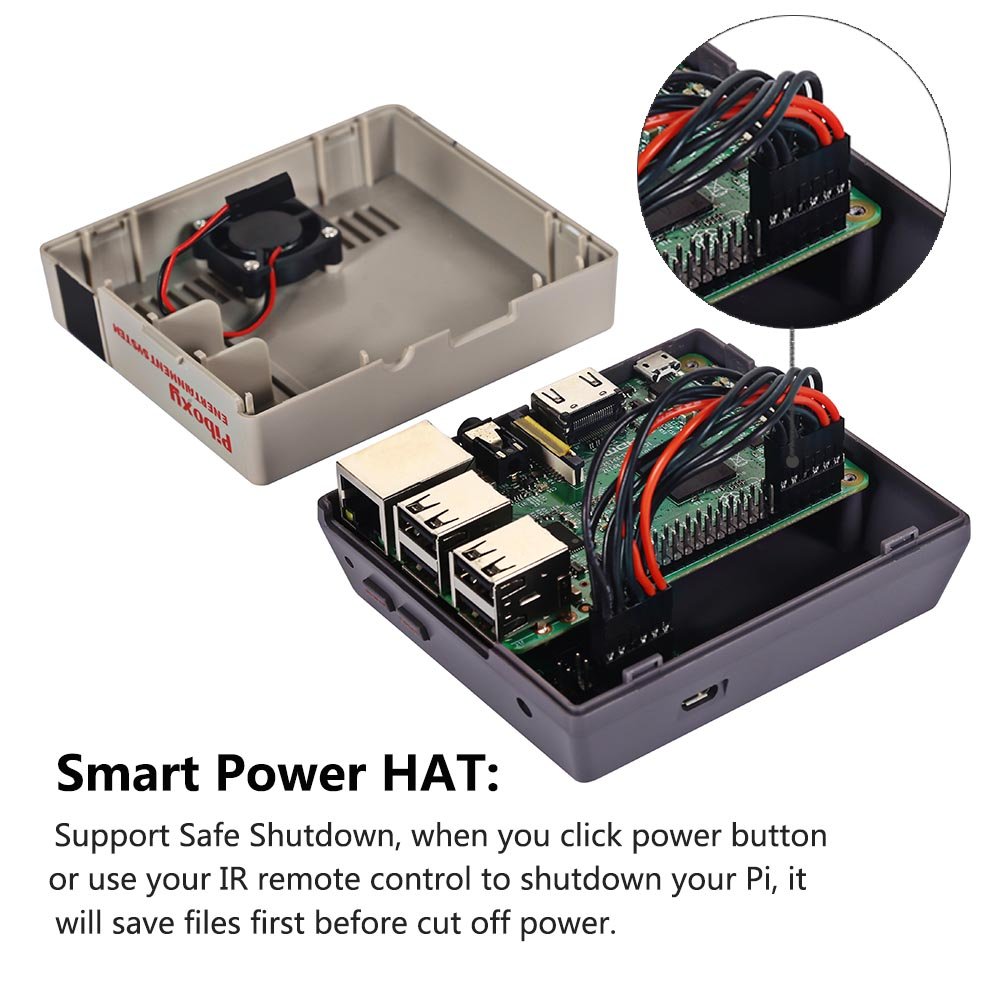
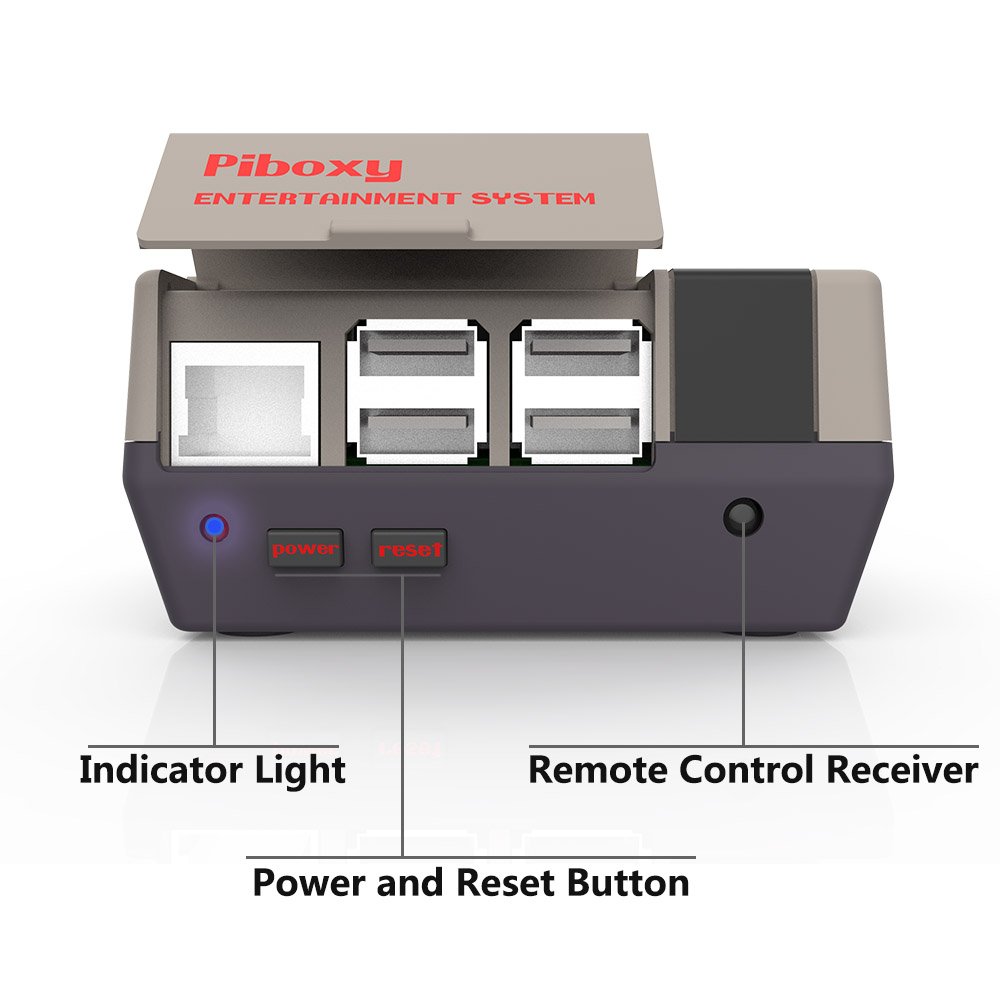
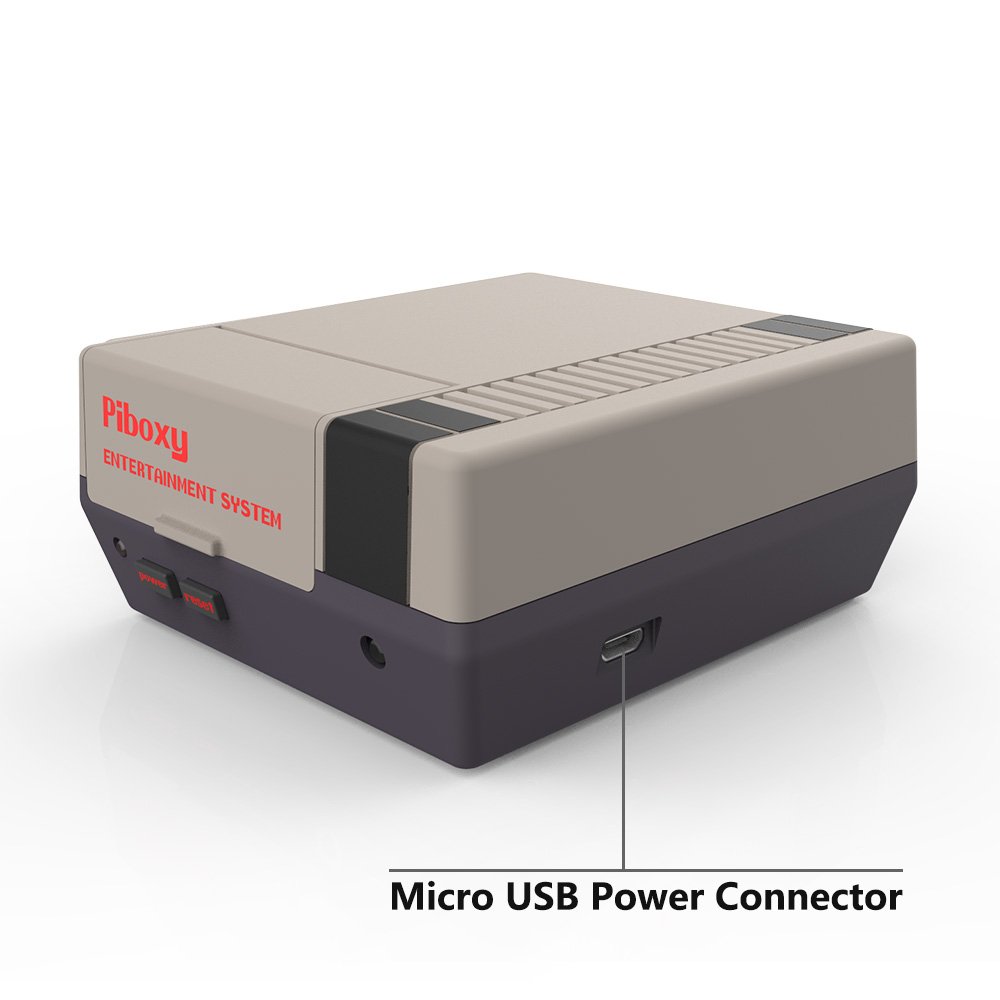
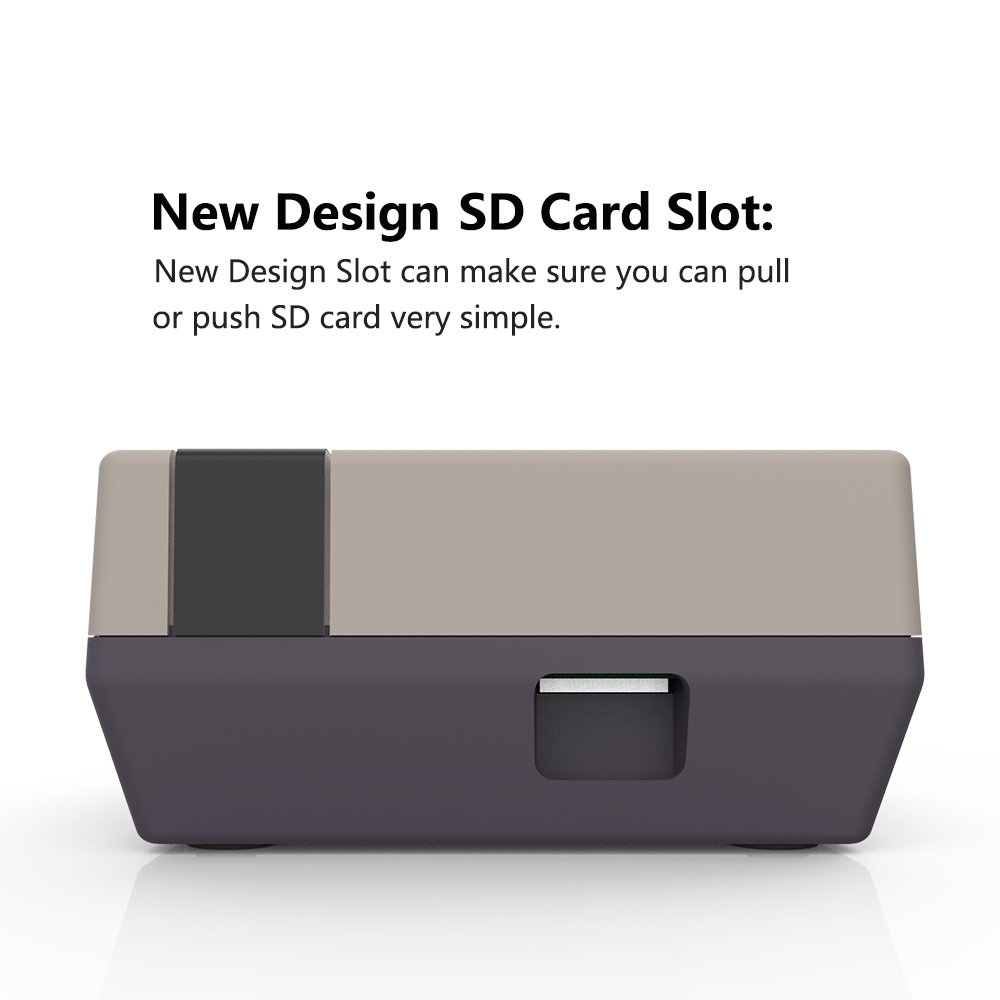
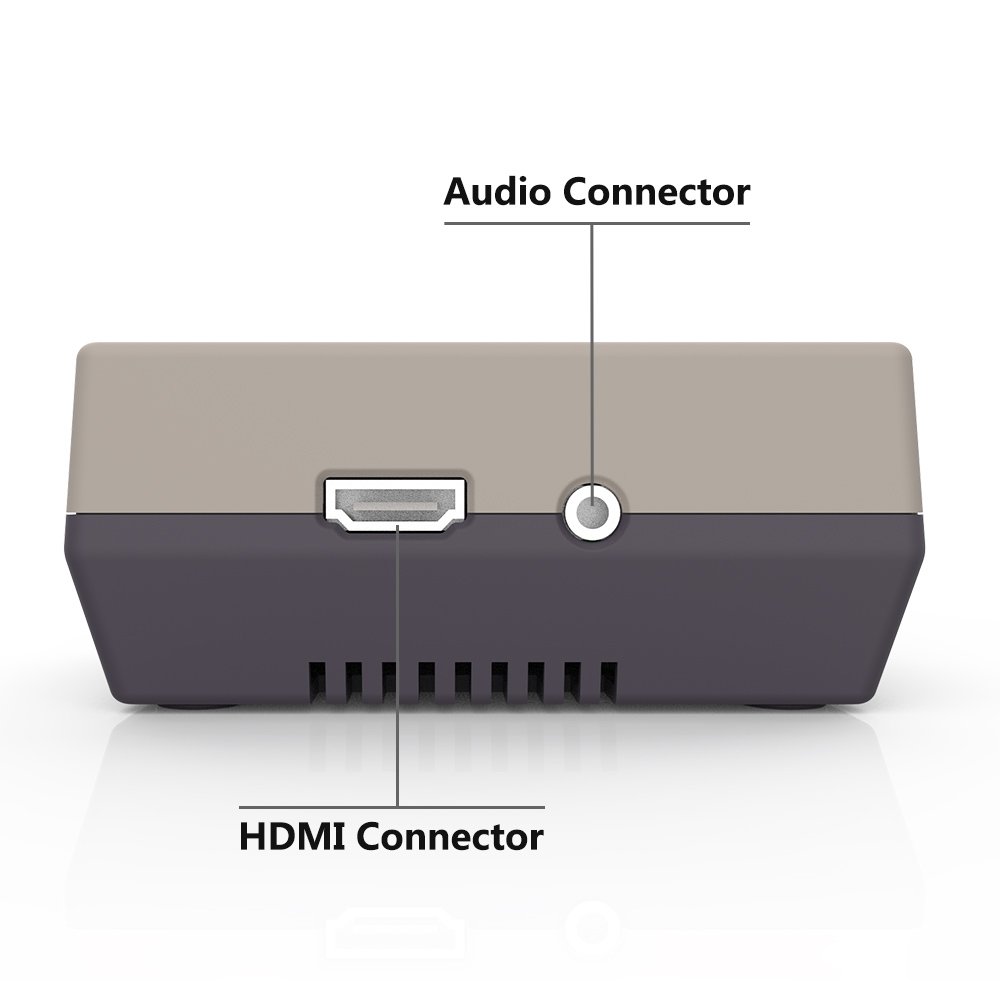
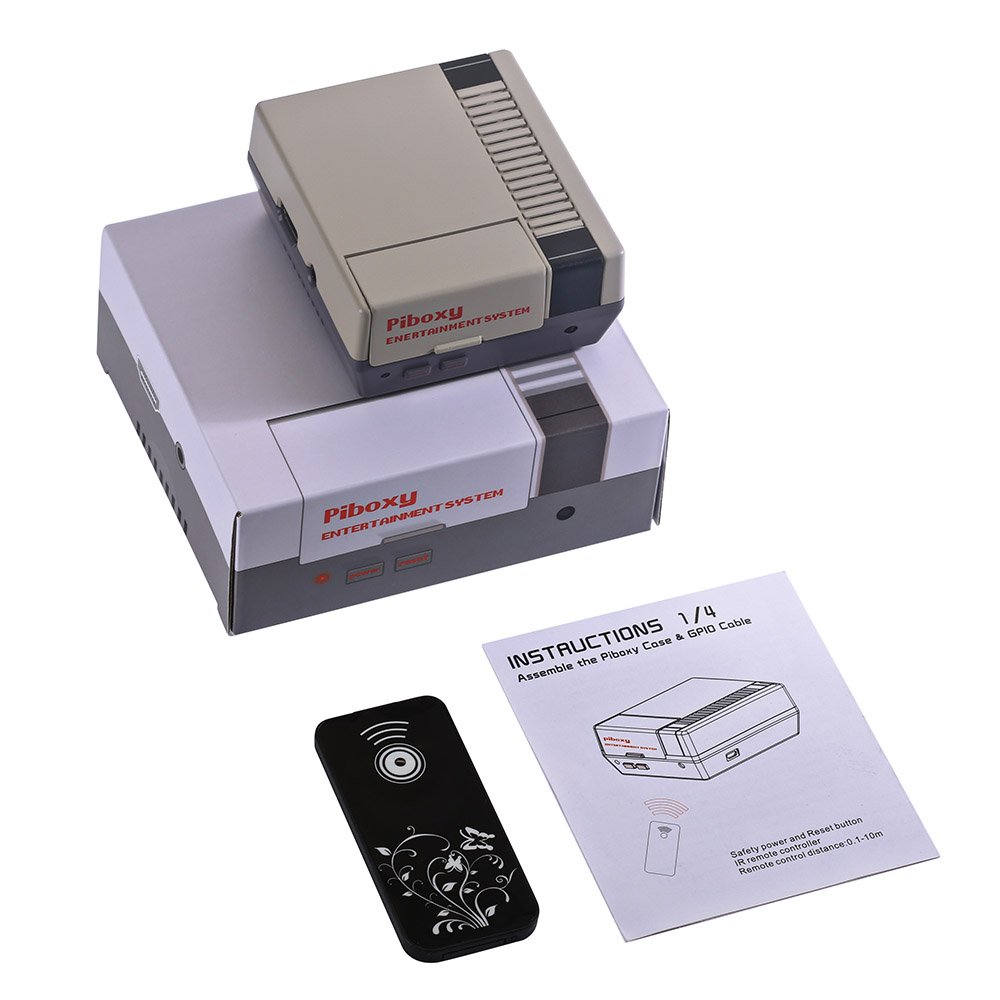
I've been looking for a NES like case for the Raspberry Pi for a little while and have had good luck with iUniker products before so I decided to give this a shot.The design is very sturdy, I actually had a little difficulty getting the two pieces (Light grey top and dark grey botton) apart at first and thought I was doing something wrong. With just a little extra strength it came apart.The unit comes with the following:1. An IR remote, that you can use to power on the Pi in the case2. 5 screws to attach the Pi to the case, it is nice that they included an extra because they small3. A philips screw driver4. A fan already mounted to the case, you just need to attach it to the power module.5. A power module: - This connects to the first 12 pins of the Pi's GPIO connectors. - The module also contains the IR reciever. - The module can support 2 fans (as mentioned before 1 is included) - The module has a reset and power button.6. The 2 piece case.Once you have the Pi mounted and the fan and power module connected, plug the power supply into the power slot on the power module as you will not have access (nor need access) to the micro USB port on the Pi. I have only tested the power module with RetroPie and Rasbian OS's, following the provided instructions the driver installed in about a minute, just be aware that the terminal commands are case sensitive, so make sure when you type -sSL, that you don't use -SSL, or -ssl. Installing the driver allows for the IR remote and power/reset buttons to work correctly.The case allows for easy access to the microSD slot, and throug the traditional NES cartridge slot, the network adapter and USB ports. The audio connector and HDMI are accessible from the side.I am really happy with the product.
R**4
Nice sturdy case with fan
Assembly was kind of easy. You have to really pull hard to get case apart. The screws to hold ur pin in are extremely tiny, so a magnetic small screwdriver makes it much easier. This one comes with a regular small screwdriver. The directions were hard to understand to connect the board and fan to the case but the color coded red is the best bet. I entered the line of code to get the remote to work. Got some sort of error but it still works and hasn't messed up my rpi3. I wish I could have added my bigger fan in but I don't use it for much anyway. Overall it's worth its price and i like the retro Nintendo look. Would be better if the door closed with USB addons plugged in but its nice. Now you don't have to worry about the case breaking during installation or the cords making it not sit even.
S**S
Nostalgia!
Pros* The case is well-built.* GPIO control for power and reset button (graceful shutdowns!) You must install the Piboxy drivers via their bash script to enable functionality.* Remote control to power on/off the device is nice.Cons* The fan is a bit annoying. Another reviewer mentioned that it's possible the fan is running full speed all the time. Hopefully, Piboxy will fix this issue with a driver update. I've disconnected the fan since I already have a heatsink on it and don't plan on overclocking the CPU.* One notch that holds the case together broke so it's a little too easy the case now, whereas before it was kind of hard to open. I had to reopen the case to disconnect the fan.
R**Y
Fan don't slow down and it is a little load.
They never say how to open it. Does it have some screws holding it. Did not know. But after some time I found out it just snaps open. It's hard to snap open have to pull hard. That is good because it don't come apart easy.The little board is nice in it. Does make the switches power it down and turn back on and reset it too.The fan is loud in it. I thought the curl command and a reboot would slow down the fan. Because it's plugged in on the board that came with this PiBoxy Nex Case.Nice case. They just need to fix the install script to have the fan go with how hot the inside of the case it. Sounds like it just goes 100% all the time.
Trustpilot
Hace 5 días
Hace 1 semana
